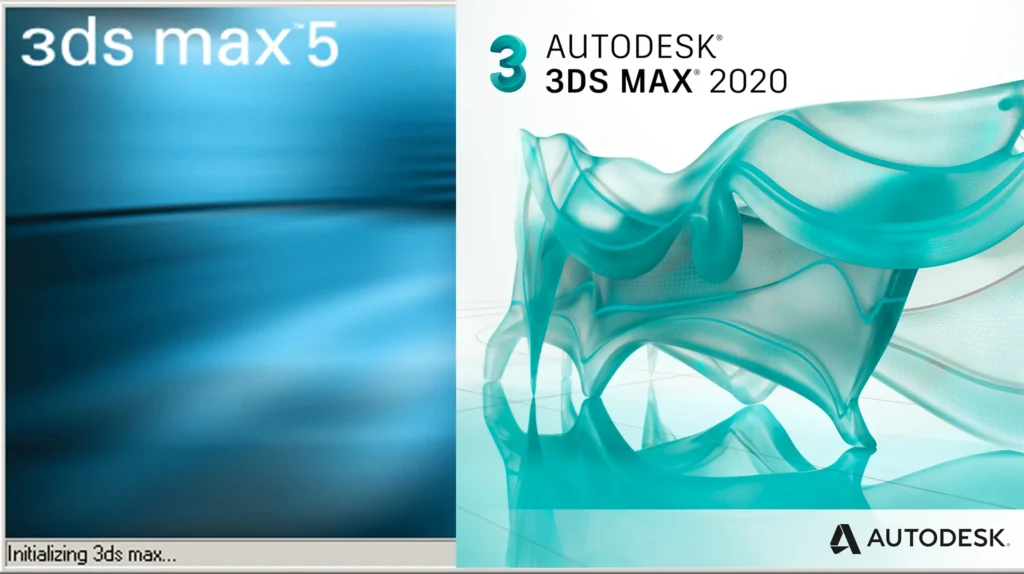
In the last country I worked in, the teams focused on 3D architectural visualization. I remember my journey into professional practice. I started as a junior architect working in design. Other people did the 3D architectural visualization. Later I moved to site construction and worked on the construction side. Even there, site visitors such as the client and the head of department mentioned 3D architectural visualizer work from time to time. It is a major concern in every part of architectural practice. This article is a practitioner’s walkthrough. It covers my path as a visualizer and my user experience of 3ds Max software.
I had a friend who owned a shop, a learning center. I visited him after graduation to ask about using one of his desktops for learning. I told him I needed a desktop with certain specifications to learn AutoCAD and 3ds Max. He tried to convince me to buy one. I explained that I already had a desktop, but it was not powerful enough for 3D architectural visualizer work. I also told him I would travel to the Gulf for work and would need this software. He agreed to rent me the desktop on a monthly basis. I would attend his shop every day. He asked me to hand over the required specifications. I started with AutoCAD because I was doing all the design work manually in the company. It took me a month to learn AutoCAD. It was fairly simple to use.
After learning AutoCAD, I started 3ds Max 5 immediately. I went to the university and printed all the help documents. I bound them together as a book. When you are isolated from the world, the learning curve is totally different. I had no connection to the internet because of the political regime. I had no previous experience and no close friends who knew software like 3ds Max. I could not ask the software community for advice. The learning steps below are for a person isolated from the world. They might differ for others who are in a better position.
I installed 3ds Max 5, and by God’s grace everything went well. I decided to start with 3D objects. After the program launched, I saw an amazing and complex interface. My first impression was that becoming a 3D architectural visualizer would be a very hard task. I started with the box, cylinder and tube. I focused on how to build them and control their parameters. Then I learned how to build walls from them, as well as arches and domes. When you design something, it is combined from different shapes. So the next thing to learn was how to combine 3D objects. This includes 3D operations such as Boolean operations.
A project is made of many elements. These include arches, stairs, railings, windows, and decorative shapes like cornices and corbels. It also includes external landscape features. Examples are garden layouts, pavements, sitting areas and fountains. These need to be built from 2D shapes. So the first step was to go through all the shapes: circles, rectangles, squares and curved lines. I learned how to create them and control their parameters. Combining these shapes was also hard because of the complex interface. The related command buttons are in sub-tabs. The combination is fairly similar to Boolean operations of 3D objects. The most difficult part is curved lines and surfaces. Creating them is simple. To control their nodes, however, you need to go to the subdivisions.
From the 3D objects and the 2D shapes, I started a small project. It was a small house with two rooms and a canopy. I had to draw the window shapes and all the frames. Then I built a 3D object on them with all the glass panels. The walls had to be cut with Boolean operations to make the window and door openings.
The next question was how to place the 3D objects together in accurate locations. So I moved forward to learn how to align, array, clone and mirror objects, and their related parameters and controllers. I also passed by many modify panel commands. I did not touch them because I did not know their purpose.
When you finish building the model, you need to assign materials. The help documents of 3ds Max 5 give only very basic information on using the interface. So the material editor was a big hassle and challenge. I had to learn all its components. I also had to learn how to apply materials to objects in the scene. You either build the material inside the editor, use a built-in material, or use bitmaps. The result was not very compelling. Learning the material editor took a long time.
I thought rendering was simple. I would give a command to render, and a render window would show the result after I put the materials in place. Then came the render dialogue box with all its parameters. These control the environment, the render elements, the render engine, and the output file and its extension. When I set everything up and pressed render, the result was poor. The model materials were not properly aligned, the resolution was low, and the render image was dark. 3ds Max 5 has a default light, and the render shows the scene from the active view. In my case, it was an isometric view.
So I went back to the help documents to learn how to render in perspective. I also wanted to make the scene a little brighter. The documents pointed to the camera and light sections. I went to the command panel and found the cameras and lights. You put a camera in the scene: a target camera or a free camera. It has parameters such as focus, lens and environment controls. Lights have different types, such as target and free lights. Their parameters also make the scene look brighter.
I put a target camera with a target light. I modified their controllers and then rendered the model. The model became more compelling, and the result was acceptable.
Surprisingly, the Discreet company had integrated Character Studio into 3ds Max. It has a separate section. My friend in the shop asked me what I thought of it. I told him it would be very difficult. But I learned that a character can be moved around and its animation recorded. That opened the door to animating the small house. First, I drew a curved line. I learned how to put the camera on the path and record its movement. Then I rendered an animation. That was a real success for me at the beginning. Here I reached the end of the help documents. The table 1 below shows the step-by-step learning of a 3D architectural visualizer at the beginning of the career.
Table 1 , step-by-step learning of a 3D architectural visualizer
| Learning steps | 3ds Max part | Activity | Time |
| Step 1 | 3D objects | Box, cylinder, sphere, Boolean operations, and controlling parameters. | 2 hours a day |
| Step 2 | 2D objects | Rectangle, square, circle, Boolean operations, and controlling parameters. | 2 hours a day |
| Step 3 | Modeling a small house | Building walls, house 3D elements from 3D, 2D objects | 2 hours a day |
| Step 4 | Material editor | Building a material, using software default ones, and making them from bitmaps. | 2 hours a day |
| Step 5 | Render dialogue box | Controlling the renderer, the parameters, environment, and output file type | 2 hours a day |
| Step 6 | Camera, light objects | Selecting type of camera and type of light in the scene, controlling parameters. | 2 hours a day |
| Step 7 | Character Studio, and animation | Building animation path, aligning camera on path, rendering animation parameters. | 2 hours a day |
| The end of the learning journey | Total 30 days – 2 hours a day |
At the end of this month, you will not know much. You will only know the interface and how to use it. Then my plans changed. Instead of traveling abroad, I traveled to another country to teach an engineering subject in an institute. It was far from 3ds Max 5 and from being a 3D architectural visualizer.
After one year, I was teaching and also working with a consultancy firm on design at a separate time of the day. In that period, my 3ds Max learning did not grow because I had limited time. Then a friend called me for help with a certain amount of money. He asked if I could travel to the Gulf region. I told him to finish his job first and then we would talk. After two months, he called me. He had become stable in his job and had obtained permanent residency. He offered to provide me a visa to the Gulf region. I asked him what consultancy firms ask an architect to do and what skills an architect really needs. He told me about montage and animation. That advice was not accurate. It made me do many animation projects in 3ds Max 5, combined with Adobe Premiere 5.
Traveling abroad and finding a consultancy firm was also a hard task. The firm’s manager surprised me. He asked what kind of work I had done before and said, “Let’s put your CV aside.” I told him I had mainly designed villas for nearly three years. I had then moved to the execution division to learn the construction process in depth. He accepted to give me an offer. He told me that architects in his office do everything. They do design and working drawings, assist in preparing construction documents, and occasionally supervise the site.
Being away from 3D work makes an architect’s 3D work less attractive and lower in quality. In my case, I did not do much 3D work, and I did not go deeper to learn more details. I asked many friends. They advised me to take 3D training courses. That was not proper advice either. I also had no time for it because of exhausting work. Then I joined a company where I found, surprisingly, a civil engineer working as a 3D architectural visualizer. This colleague raised my capacity. We had continuous discussions on deep matters of 3ds Max work and its use in preparing 3D.
Previously, when a manager asked me to prepare a 3D model and a render for a project, I requested seven days. Gradually, when working with others, I was given only three days to finalize the 3D model and render. So my discussion with my colleague started about speed. He mentioned using other software, like SketchUp and ArchiCAD, to prepare the model and export it to 3ds Max for rendering. I told him it is better to focus on one software.
The journey to become an advanced 3D architectural visualizer started with solving many problems. First things first was the low resolution of object surfaces. This happened even when I applied the material properly from the material editor. I found three solutions. First, build the model in AutoCAD, increase the surface mesh subdivisions, and then export it to 3ds Max. Second, build the model inside 3ds Max and increase the subdivisions of the objects or extruded faces. Third, handle it in the material editor. Increase the material subdivisions, if any, and combine this with the UV map divisions. In addition, use HDRI maps instead of normal BMP images. This gives high resolution when assigning materials and rendering.
The time required to build the 3D model became an issue later. My colleague reminded me that he had told me at the beginning to use other software. He meant building the model and assigning materials there, and doing the rendering in 3ds Max. I thought about it a lot. From practice, I realized that combining AutoCAD and 3ds Max is the best way. First, export the plans to 3ds Max. Then build and position the model on them. This reduces the time required to build the model.
It is better to build the less complex parts in 3ds Max, where I can control the meshing. The complex parts are faster and easier to build in AutoCAD. Examples are columns, cornices, corbels and complex canopies. I then export them as 3ds solids. In this way, finishing a model takes less time than building it in 3ds Max alone.
Materials and external objects also take time to build. I discussed this with my colleague. He said that finalizing the 3D in Adobe Photoshop means adding cars, trees and figures to the final render. This needs a specialist who can combine different scales and resolutions. That person must also be an advanced user. To avoid this, we discussed arch models and shaders in the material editor. They give more realistic materials when you assign them to an object. Arch shaders also give ready-made landscape objects, such as trees, a realistic material. When you insert a tree and set it up properly, it looks very natural.
But I still told my colleague that some renderings look more powerful and realistic than ours. He mentioned plugins that provide rendering engines. These simulate realistic conditions. Examples are V-Ray, Brazil and Corona. The plugins come with their own setup and learning documents. They made preparing a 3D model and rendering more comfortable for a 3D architectural visualizer.
In recent years, I managed to obtain the whole environment of a ready-made arch model, which is a full project. It comes with its full setup of environment, light, camera and render engine. These purchased projects come from different sources. They reduce the time needed to set up a scene for camera, light, render elements and render engine parameters. They also give very realistic render images.
3ds Max 2020: The Advanced Stage
My last project in 3ds Max 2020 was a render for a friend, about a year ago. By then I was a head of department, so I did little hands-on 3D work. This project made me use V-Ray heavily. I mastered its settings and tried several of them from ready-made projects.
I studied and analysed the light in the scene and its parameters. The scale of the project matters. So do the exact location and the dimensions from the center of the project. I adjusted the direction, density and color of the light.
The V-Ray physical camera was not easy to assign in 2020. I needed a script to load it and bring it into the scene. I also learned to use the camera safe frames and the other windows in the scene. I managed their scale and the camera position. I solved the distortion through the physical camera parameters. This gave a realistic render of a building without distortion.
The biggest impact came from the ready-made projects I bought from Evermotion. They changed me from a beginner 3D architectural visualizer on 3ds Max 5 into an advanced 3D architectural visualizer on 3ds Max 2020.
The table 2 below summarizes the stages I went through to solve the problems of resolution, meshing, speed and realism.
| Stage | Problem | Solution | Result |
| Stage 1 | Low surface resolution | Build the model in AutoCAD, increase the mesh subdivisions, then export to 3ds Max. | Higher surface resolution |
| Stage 2 | Low surface resolution | Build the model in 3ds Max and increase the subdivisions of objects or extruded faces. | Higher surface resolution |
| Stage 3 | Low-quality materials | Increase the material subdivisions and the UV map divisions in the material editor. | Sharper materials |
| Stage 4 | Low-resolution materials | Use HDRI maps instead of normal BMP images. | High resolution in materials and rendering |
| Stage 5 | Slow modeling | Export the plans from AutoCAD to 3ds Max. Build and position the model on them. | Less time to build the model |
| Stage 6 | Complex parts and meshing | Build simple parts in 3ds Max to control the meshing. Build columns, cornices, corbels and canopies in AutoCAD. | Faster and easier modeling |
| Stage 7 | Cars, trees and figures | Use arch shaders and ready-made landscape objects instead of finishing in Photoshop. | Natural-looking trees and materials, no specialist needed |
| Stage 8 | Renders not realistic enough | Use rendering plugins: V-Ray, Brazil and Corona. | More realistic renders and easier setup |
| Stage 9 | Slow scene setup | Buy ready-made scenes with environment, light, camera and render setup. | Less setup time and very realistic images |
| Stage 10 | Realistic light and camera | Study the V-Ray light by project scale, location, direction, density and color. Load the V-Ray physical camera with a script and set its parameters and safe frames. | Realistic render of a building without distortion |
Finally, that was my journey of learning to become a 3D architectural visualizer. The path was full of obstacles and improper advice. I developed gradually. I also developed skills in other parts of architectural practice. These include design, working drawings and specifications. They also include bills of quantities, bidding letters and invitation letters. I wrote and reviewed consultancy contracts. I also reviewed and assessed the qualifications of consultants, sub-consultants and contractors.
Enjoyed this article? Our author book Experience: What Matters in Architecture, Urban Design and Planning shares his experience in professional practice. Read about the book or find it on Amazon.